GitLab 搭建
前言
有时候公司需要搭建私有仓库,这时 GitHub 就不能用了。
这里的私有仓库使用 GitLab,而且使用 Docker 方式运行,方便快速。
GitLab 有 CE 和 EE 版本,本文使用 CE 版本。
参考文章:GitLab 官方文档
docker 使用
运行镜像
docker 会自动拉取镜像并配置运行:
1 | sudo docker run --detach \ |
映射的端口:SSH, HTTP 和 HTTPS。
目录含义:
- /etc/gitlab:包含 gitlab 的配置文件
- /var/log/gitlab:gitlab 的日志目录
- /var/opt/gitlab:gitlab 使用的仓库保存所有版本库
因为部署在本地,又指定了 local.gitlab.com 作为域名,所以在 /etc/hosts 配置下,这样可以通过域名访问 gitlab。
1 | 127.0.0.1 local.gitlab.com |
配置
进到容器的 shell 环境:
1 | sudo docker exec -it gitlab /bin/bash |
所有的配置都在 /etc/gitlab/gitlab.rb,需要注意其中的 external_url 是指向有效的 url 地址,比如:http://localhost。
更改 GitLab 的用户密码:
1 | gitlab-rails console |
重启 GitLab 服务:
1 | gitlab-ctl restart |
SSH
生成公私钥:
1 | ssh-keygen -t ed25519 -C 'root@gitlab.com' |
这里只是测试,所以内容都按默认的填。
将公钥内容复制到 http://local.gitlab.com:8000/profile/keys:
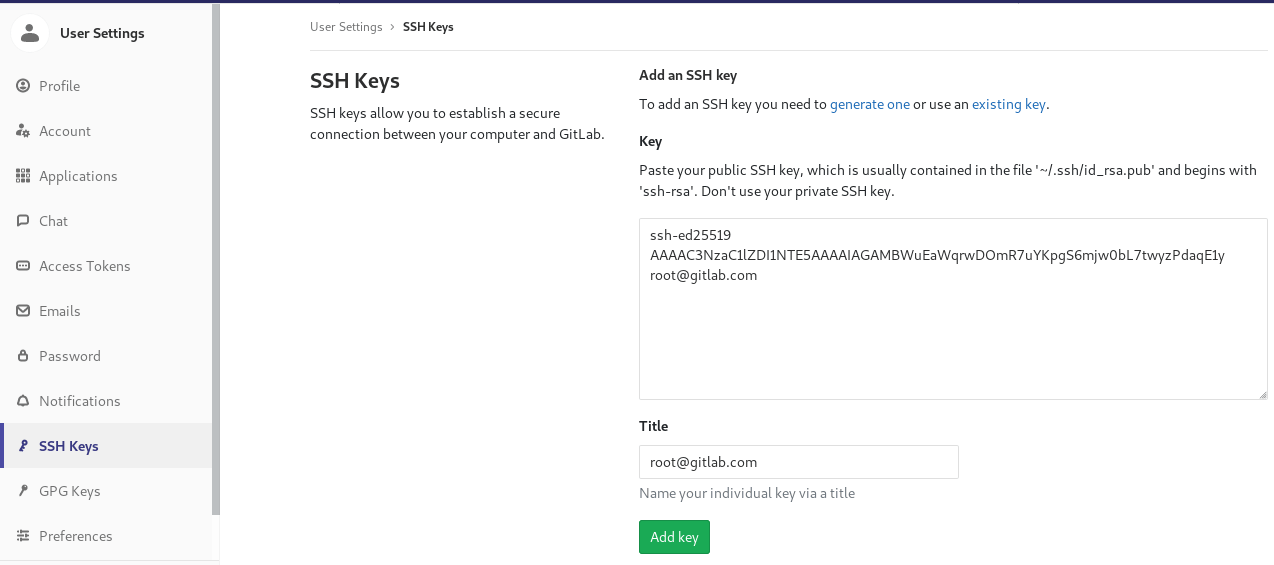
由于不是默认的 22 端口,无法直接域名操作 Git,在 .ssh/config 文件中添加:
1 | host gitlab |
测试:
1 | ssh -T git@gitlab |
测试项目
测试步骤:
- 在 GitLab 添加仓库
- 拉取到本地做修改
- 上传回仓库
在 GitLab 添加仓库:
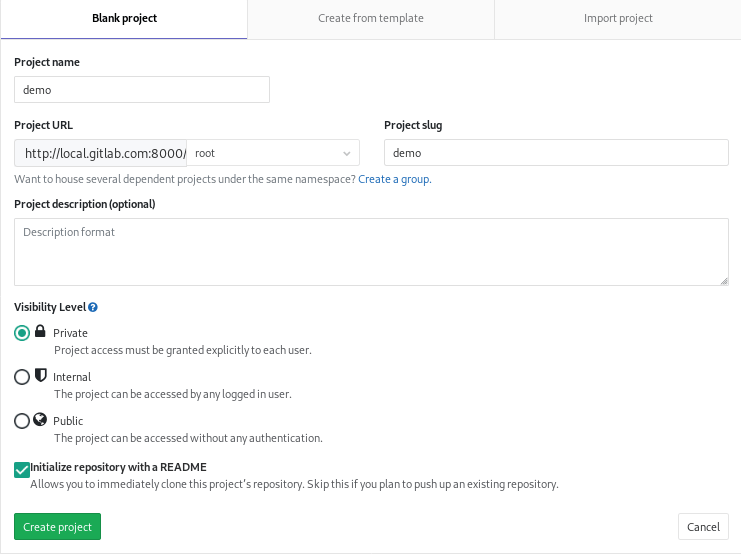
拉取到本地做修改:
1 | git clone git@gitlab:root/demo.git |
上传回仓库:
1 | git add . |
到这里基本工作就结束了,其他关于 GitLab 的使用请看官方文档,说得非常清楚。